Easy DIY Over the Toilet Storage Shelf Project
Are you tired of cluttered bathrooms and limited storage space? Look no further! This easy-to-make over the toilet storage shelf is perfect for adding storage for towels and toiletries without drilling holes in the wall. With its ladder-shelf design, this project is not only functional but also beautiful and easy to build.
Project Overview
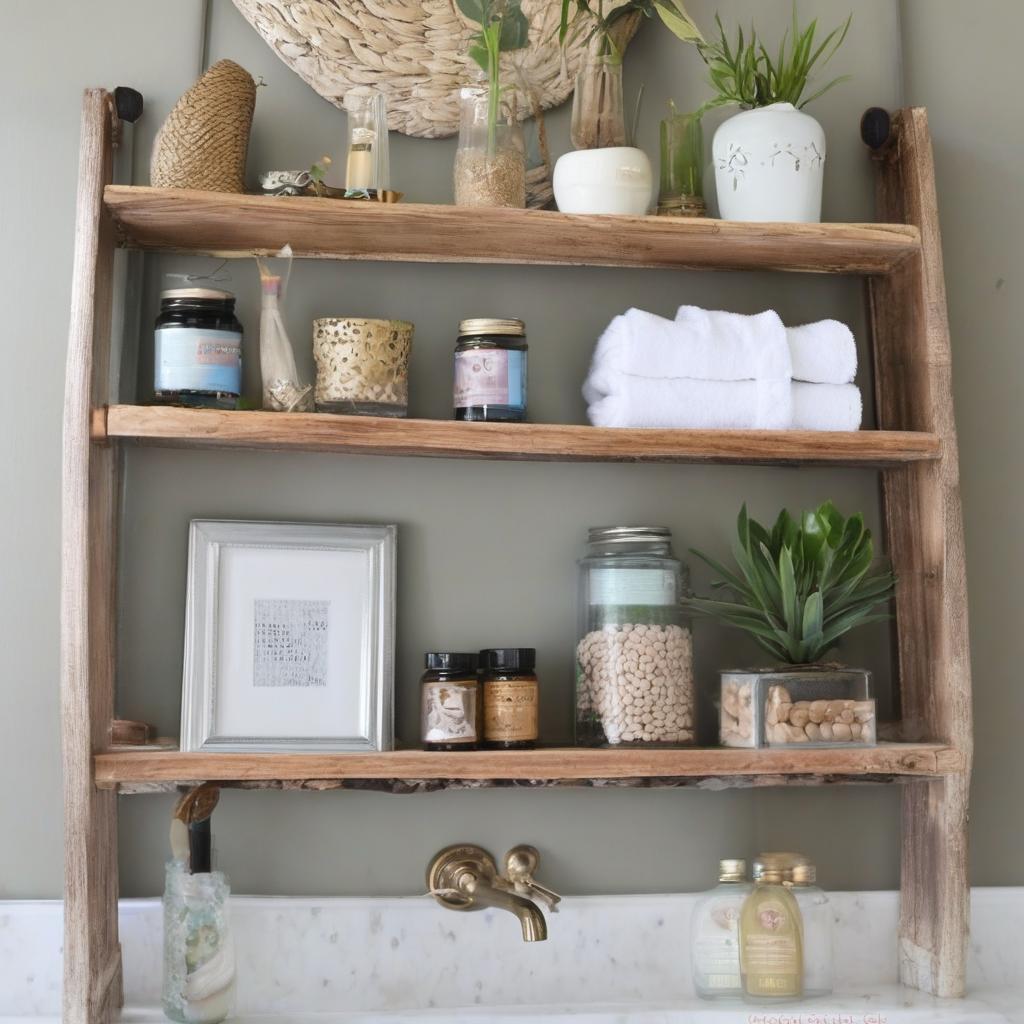
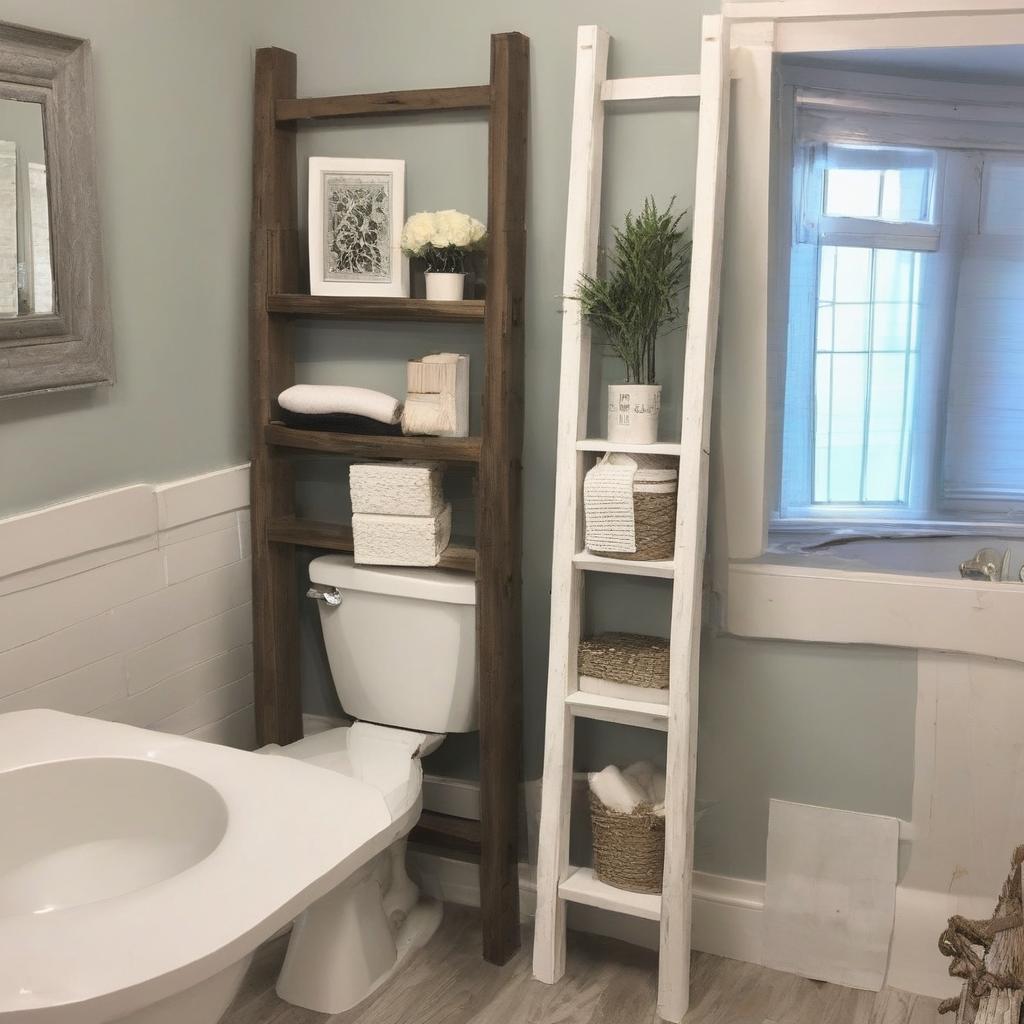
This over the toilet storage shelf is a freestanding unit that can be built in just a few hours with minimal tools and materials. The bottom shelf is perfect for baskets, while the upper shelves are ideal for decorative items or toiletries. The project requires no drilling or hanging of shelves, making it a great solution for renters or those who don’t want to make permanent changes to their bathroom.
Materials and Tools Needed
To build this over the toilet storage shelf, you will need the following materials:
- 2 – 2x3s @ 8 feet or stud length (can also use 1×3 or 2×4 if 2x3s cannot be sourced)
- 1 – 1×10 @ 24 inches
- 1 – 1×8 @ 24 inches
- 1 – 1×6 @ 24 inches
- 2 – 1×3 @ 6 feet
- 11/4 brad nails
- 1/4 wood screws
You will also need the following tools:
- Circular saw
- Drill
- Sander
- Level
Step-by-Step Instructions
Building this over the toilet storage shelf is a straightforward process that can be completed in just a few steps.
Step 1: Attach Backs to Shelves
Attach the backs to the shelves using 1 1/4 brad nails.
Step 2: Measure and Cut Sides
Measure and cut the sides to the required length. Attach the sides to the shelf and back using 1 1/4 wood screws.
Step 3: Place Bottom Shelf and Attach
Place the bottom shelf with a level and attach it to the sides using 1 1/4 wood screws. Add the upper shelves, spacing them evenly apart.
Finishing Touches
To give your over the toilet storage shelf a beautiful finish, we recommend using Danish Oil. This easy-to-apply finish stains, seals, and protects the wood in just one step, with no brush marks. It took just 15 minutes to stain, seal, and protect this shelf.
Dimensions and Cut List
The dimensions for this project are:
- 2 – 2x3s @ 72 inches (can also use 1×3 or 2×4 if 2x3s cannot be sourced), both ends cut at 10 degrees off square, long point to short point, ends are parallel
- 1 – 1×10 @ 24 inches
- 1 – 1×8 @ 24 inches
- 1 – 1×6 @ 24 inches
- 3 – 1×3 @ 24 inches
- 2 – 1×3 @ 10 inches
- 2 – 1×3 @ 8 inches
- 2 – 1×6 @ 14 inches
Tips and Variations
If you’re looking to customize your over the toilet storage shelf, here are a few tips and variations to consider:
- Use cedar fence pickets to reduce lumber costs and add a rustic touch to your project.
- Modify the design to fit your specific bathroom needs, such as adding extra shelves or a cabinet.
- Use a different type of wood or stain to match your bathroom decor.
Project Details
Project Type: Bookshelf and Bookcase Plans, Bathroom Furniture, Bathroom Storage Room, Bathroom Storage Solutions
Style: Traditional Style Furniture Plans, Cottage Style Furniture Plans, Farmhouse Furniture, Rustic Furniture Plans
Why You’ll Love This Project
This over the toilet storage shelf is a great project for anyone who wants to add storage and style to their bathroom without making permanent changes. With its easy-to-build design and minimal materials, this project is perfect for DIY beginners and experienced builders alike.
Easy to Build and Inexpensive
This project is a great way to add storage and beauty to your bathroom without breaking the bank. With its simple design and minimal materials, you can build this over the toilet storage shelf for under $50.
No Drilling Required
Unlike other bathroom storage solutions, this project does not require drilling holes in the wall. This makes it a great option for renters or those who don’t want to make permanent changes to their bathroom.
Reader Comments and Questions
We love hearing from our readers and seeing their finished projects. Here are a few comments and questions from readers who have built this over the toilet storage shelf:
- “I love this. I need something like this for my bathroom. Maybe I can build one in time for the contest.”
- “Has a winner been selected yet?”
- “I viewed it last night and then today, it’s off Ryobi’s site. Can you please provide your instructions online?”
Common Questions and Answers
Here are a few common questions and answers about this project:
- Q: What angle do I cut the feet?
A: 10 degrees off square. Basically, cut a 10-degree angle at the exact corner of one of the sides of the feet on both legs. - Q: Can I use a different type of wood or stain?
A: Yes, you can use a different type of wood or stain to match your bathroom decor.
By following these plans and instructions, you can build your own over the toilet storage shelf and add storage and style to your bathroom. Happy building!
More Project Details
The shelf is very easy to make and is very inexpensive. Adding storage and beauty all without having to drill holes in the wall. At the bottom shelf it is just perfect for baskets. Upper shelfs are perfect for decor or toiletries. You can see and use Danish Oil easily now. Danish Oil stain,seals,and protects all at one step. This will took just 15 minutes.
Comments from Other Users
Other users have found this plan to be very useful
- It love this. I need something like this for my bathroom. Maybe I can build one in time for the contest – handmadewithash
- Winner Has a winner been selected yet? – dayshijef
You can use or add your ideas in your shelf like using pickets to build your shelf
- ahugginkiss05 used fence pickets total and it was less than 13.
Frequently Asked Questions
What angle do I cut the feet? *_10 degrees off square._*
Can I use a different type of wood or stain? *_Yes, you can use a different type of wood or stain to match your bathroom decor._*
Is drilling required for this project? *_No, drilling is not required._*
What is the estimated cost of this project? *_Under $50._*
Can I customize the design of the shelf? *_Yes, you can modify the design to fit your specific bathroom needs._*
What type of finish is recommended for this project? *_Danish Oil is recommended as it stains, seals, and protects the wood in one step._*