
How to Stencil Your Floors Like a Pro: Get the Hand-Painted Tile Look You Love for Less
As a DIY enthusiast, I’m always on the lookout for creative and cost-effective ways to transform my home. One of my favorite techniques is stenciling, and today I’m excited to share with you my step-by-step guide on how to stencil your floors like a pro.
Why Stencil Your Floors?
Stenciling is the perfect way to breathe new life into your floors, walls, or furniture without breaking the bank. With stencils, you can achieve a high-end look without the hefty price tag. I’ve had the pleasure of working with Cutting Edge Stencils, and I must say, their floor stencil and wall stencil collections are top-notch. They always have something unique to offer, and their stencils match all the latest on-trend tiles.
My Latest Project: Stenciling My Daughter’s Bathroom Floors
My daughter’s bathroom floors were in desperate need of a makeover. The darker gray faux stone tile felt and looked, well, faux. I wanted to brighten it up and add a pop of color to match the girly theme of the bathroom. I decided to stencil the floors, and I’m thrilled with the result!
Before: The floors were a darker gray faux stone tile that felt and looked artificial.
After: The floors are now a beautiful, hand-painted tile look that’s light, fun, and perfect for a girl’s bathroom.
Step 1: Clean, Tape, and Prep Your Tile
Before you start stenciling, it’s essential to prepare your floors. Here’s what I do:
- Vacuum the floors thoroughly
- Mop the floors and let them dry completely
- Apply painter’s tape along the baseboards, leaving a tiny space free before hitting the floors
This ensures that when you peel off the tape, it won’t take any paint with it.
Priming the Tile (Optional but Recommended)
The tile on my floor was ultra-smooth and slippery, so I was concerned that applying chalk paint directly might not be enough. To be safe, I applied a coat of Bullseye 123 primer. This is my go-to primer because it always sticks on everything!
Step 2: Apply Your Base Paint
For my base paint, I chose Rustoleum Linen White Chalk Paint. I love the slightly off-white hue it has – it’s white without being too bright. Here’s my process:
- Use a paintbrush to paint around the edges
- Use a roller to cover the rest of the floor with a thick coat
- Start from the back of the room and work your way towards the door
- Let each coat dry for 8-12 hours before applying the next
I needed two coats of base chalk paint for my floor. If you don’t prime first, you’ll likely need three coats. Make sure you have solid coverage before moving forward, and ensure each coat is completely dry before applying the next.
Step 3: Time to Stencil!
This is the fun part! Stenciling requires patience, so don’t feel like you need to complete your floor in one day. Take your time, and come back to it as you feel inspired. It will wait for you!
Choosing the Right Stencil
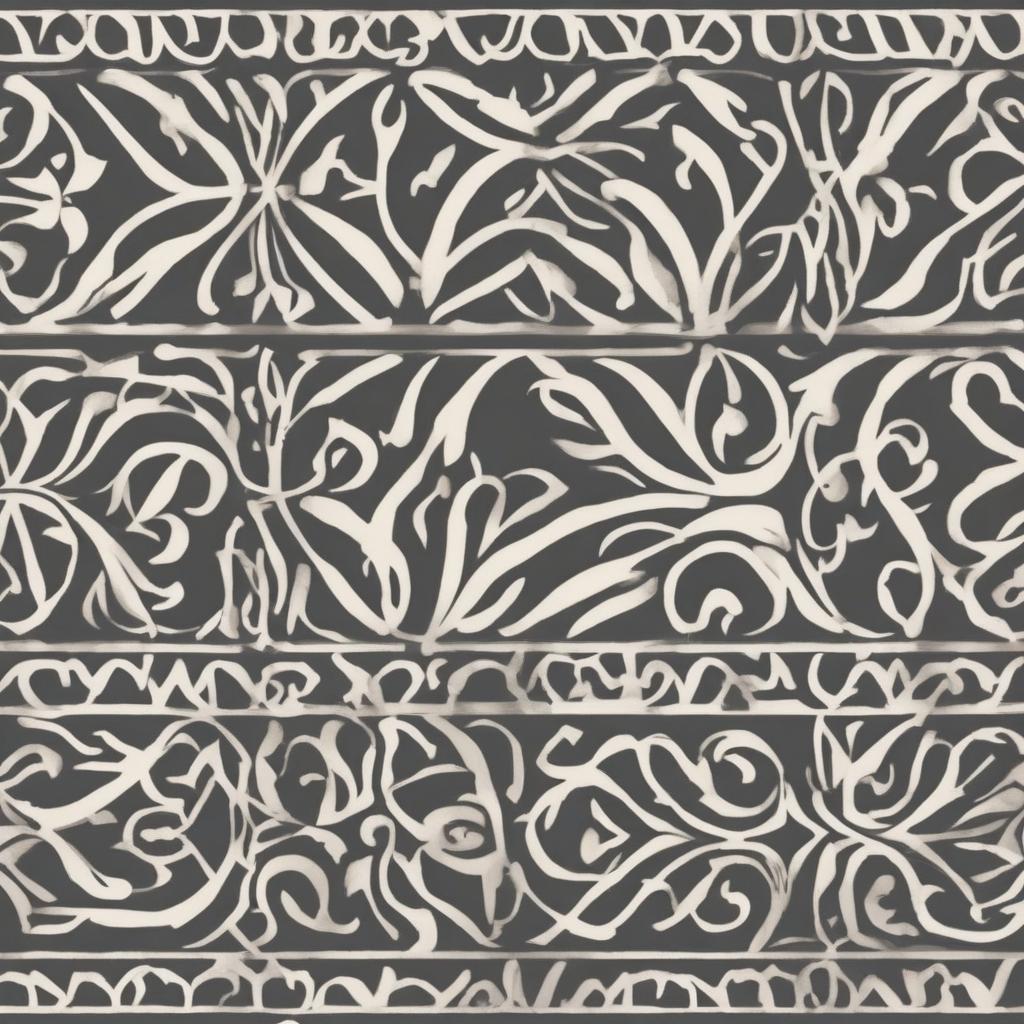
I chose the Primavera Tile Stencil in the 12×12 size for my floors. My tiles were 13×13 and staggered, so I decided to follow the stencil pattern instead of stenciling each individual tile. I recommend purchasing two stencils to make the process easier.
Applying the Stencil
To determine where to start my floor stencils, I walked into the room and thought about where it would be most noticeable to have full, perfect tiles. Usually, that means starting in line with the door, but it’s different for every room. I recommend starting in the middle of the room and working your way outwards.
- Use painter’s tape or adhesive spray to hold your stencil in place
- Use stencil brushes or a dense foam roller to paint your pattern onto the floor
- Apply barely any paint on your stencil brushes and tap straight up and down to prevent bleeding
Step 4: Seal, Seal, Seal Again
Once you’re done stenciling, allow the paint to dry for 12-24 hours. Then, it’s time to seal your floors with a water-based topcoat. I used a trusted sealant, and I recommend applying multiple coats to ensure durability.
- Apply 3-4 thick coats of poly to be safe
- Allow each coat to dry 8-12 hours before applying the next
- Paint it on with a soft paintbrush to get a thick layer
Avoid rolling it, as you get too thin of coats. Don’t worry about brush strokes; they will level out on your floor before drying. Each coat only took me about 15 minutes.
The Final Result
The floors made a huge difference! I just added the final details, which will continue to evolve over time. If you’re searching for the perfect project to update your floors without spending an arm and a leg on new tile, I encourage you to try stenciling. It’ll get your creative juices flowing, and you’ll be amazed at the transformation you can make!
Tips and Tricks
* Use a primer if your tile is smooth or slippery
* Apply multiple coats of base paint and let each coat dry completely
* Use stencil brushes or a dense foam roller to paint your pattern
* Apply barely any paint on your stencil brushes and tap straight up and down
* Seal your floors with a water-based topcoat and apply multiple coats
Conclusion
Stenciling your floors is a fun and cost-effective way to give your home a fresh new look. With these steps and tips, you’ll be well on your way to creating a beautiful, hand-painted tile look that you’ll love for years to come. So, what are you waiting for? Get creative and start stenciling!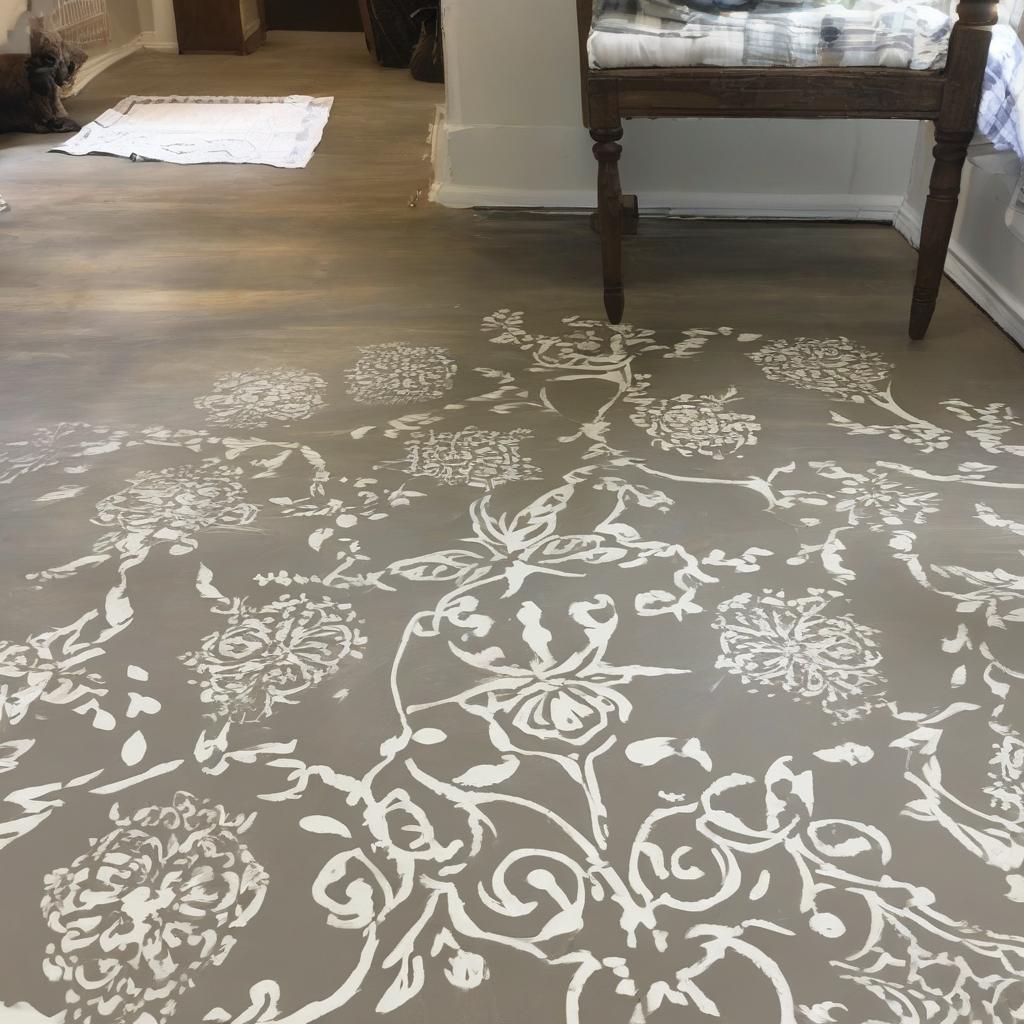
FAQs
What is stenciling and how can it transform my floors?
Stenciling is a DIY technique that can breathe new life into your floors, walls, or furniture without breaking the bank, achieving a high-end look.
What kind of floors can be stenciled?
Various types of floors can be stenciled, but it’s essential to prepare them properly before starting the project.
Do I need to prime my tile before stenciling?
Priming is optional but recommended, especially if your tile is ultra-smooth or slippery, to ensure the paint adheres well.
How many coats of base paint are required?
Two to three coats of base paint may be needed, depending on whether you prime first, and each coat should be allowed to dry completely.
What is the best way to apply the stencil?
Use painter’s tape or adhesive spray to hold the stencil in place, and apply paint using stencil brushes or a dense foam roller, tapping straight up and down to prevent bleeding.
How do I seal my stenciled floors?
Apply 3-4 thick coats of water-based topcoat, allowing each coat to dry 8-12 hours before applying the next, using a soft paintbrush to get a thick layer.
How long does the stenciling process take?
The stenciling process can be done in stages, and the drying time between coats can vary, but it’s essential to be patient and not rush the process.