
Building a Rustic Faux Beam Mantel: A Step-by-Step Guide
Introduction
In this article, we’ll show you how to build a rustic faux beam mantel that looks like it’s made from reclaimed wood, but at a fraction of the cost. Our step-by-step guide will walk you through the process of creating a beautiful and unique mantel that will transform your living room.
Materials Needed
Here are the materials needed for this project:
- 1 – 1x12x6 board cut to 61 in. (top)
- 2 – 1x8x8 board cut to 61 in. (front)
- 2 – cut to 11in x 7in. (sides)
- 1 – 59.5 in. (bottom)
- 2x4x8 cut to 2 sets at 7in., 5in., 3in., 2.5in. (Corbels)
- Wood glue
- Tapcon Concrete Anchors
- 3/16 x 3/14 Wood Filler
- Polyurethane
- Wood Dye TransTint Dyes, Dark Mission Brown
Tools Needed
Here are the tools needed for this project:
- Circular saw or Table Saw
- Brad Nailer
- Orbital Sander
- SandNet Disc by Diablo
- Belt Sander
- Dremel Rotary Tool
- Drill
- Bosch MultiPurpose Carbide Drill Bits for Drilling Tile, Masonry, Wood, Metal and Concrete
- Kreg MultiPurpose Layout Tool
Step-by-Step Instructions
Step 1: Cut the Wood to Size
To achieve the illusion of a single beam or solid piece of wood, it’s essential to make the cuts for 3 of the sides of each piece at a 45-degree angle along the entire length of the wood pieces. The back of the mantel is flat and open, so the back will have a straight edge. You can make these cuts using a circular saw.
Step 2: Glue and Assemble the Beam
Using wood glue and a brad nailer, attach the front board to the top. This part may require a second pair of hands or really good clamps as you get everything in place. With the top board and front of the beam attached, it’s time to add the side. 3 sides are cut at an angle while the part that faces the wall is flat. Use a Kreg multipurpose layout tool to ensure that all of the sides are square.
Step 3: Age and Distress the Wood Beam
To achieve an aged or vintage finish, we did a couple of things outside of the norm. We mixed the wood dye with the wood filler and applied it along the seams. We filled in nail holes and pretty much applied it everywhere. We then beat the mantle with a hammer and literally any sharp object we could find in the garage.
Step 4: Sand Down the Mantel
We started with an oscillating sander and then moved to a belt sander to create dents in the corners and on the edges in an effort to create more detail and depth. We went over everything with coarse sandpaper, then a medium grit sandpaper. We sanded it all down until it was smooth and wiped out any excess dust.
Step 5: Assess the Distressed Markings
If satisfied, move on to the next step. If more distressing is necessary, repeat steps 3 and 4. We stepped back and reviewed everything. We thought the mantel could use some more character. So using a Dremel and the sanding tip, we carved into the edges and into the front of the pieces of wood. We even used a chisel to get in some nicks and scratches.
Step 6: Stain and Apply Paint Treatment
Once we’d gotten the mantel to a desired distressed look, we stained it using wood dye. For the corners and crevices, we applied an acrylic paint treatment, blending various shades of brown. We sanded down spots with a fine 220 sandpaper before reapplying the 2nd coat of wood dye.
Step 7: Mark the Location of the Corbels and Cut the Board for the Bottom of the Mantel Beam
Mark 10 inches from each side. This is where the faux brick corbels would be placed. Using scrap wood plywood, we cut out the board for the bottom of the mantel beam. This board will not be seen. All of the sides are cut in straight edges. Then we drilled the pocket holes.
Step 8: Create the Faux Brick Corbels
Using 2×4 wood pieces, cut the pieces needed to create the faux brick corbels. 2 sets at 7in., 5in., 3in., 2.5in. Attach using wood glue. We assembled the corbels with the help of a brad nailer.
Step 9: Attach the Corbels to the Bottom Board
Attach the corbels to the bottom board before attaching it to the mantel. This makes the addition of the corbels so much easier. Each corbel should be placed on the premarked line on the board so that it is 10 inches from each side. Using Spax screws, we attached the corbels to the bottom board.
Step 10: Attach the Bottom Board to the Mantel
Finally, with the corbels attached, we attached the bottom of the mantel using pocket screws.
Step 11: Create the Support Beam for the Floating Shelf Mantel
The shelf support is simply 2×4 cut down to fit the length of the mantel so that the mantel can rest on it.
Step 12: Install the Mantel
With the mantel fully constructed, it was time to install it! We started by predrilling the screw holes for the shelf support. We used the Bosch Daredevil Multipurpose drill bits for this because they are absolutely amazing. These drill bits drill through wood and brick with such ease. With the holes predrilled, we started the screw through the board on the floor. We then matched the screws up with the predrilled holes in the brick and finished screwing each screw in place.
Conclusion
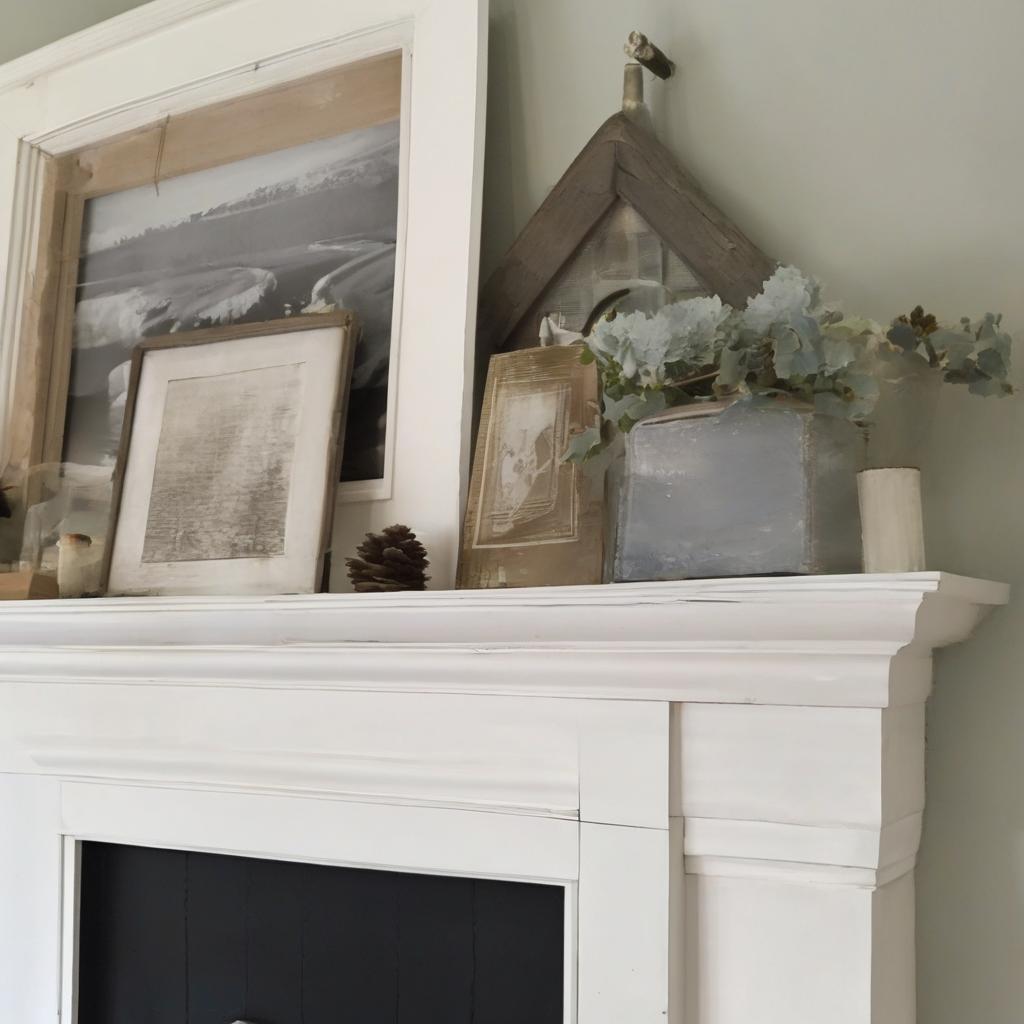
We transformed a dated fireplace with simply a little paint and rough lumber that you can easily find at your home improvement store. The estimated total for the paint and materials used for this transformation is $50-$60. Not bad at all! The pieces of wood used to create this mantel actually look like a solid piece of wood. It has a reclaimed vintage feel.
Result
The finished mantel totally changed the look and feel of the room. It made us want to go back and create some faux rustic beam floating shelves for our house.
Tips and Variations
* Use a respirator and work in a heavily ventilated area when using wood filler.
* You can use a chisel to get in some nicks and scratches.
* Use a fine 220 sandpaper for a smooth finish.
* You can use a different type of stain or paint to achieve a unique look.
Final Thoughts
Building a rustic faux beam mantel is a fun and rewarding project that can add a touch of elegance to any room. With these step-by-step instructions, you can create a beautiful and unique mantel that will be the envy of all your friends. So go ahead, get creative, and build your own rustic faux beam mantel!
More Projects Like This
If you liked this project, you might also like:
- Building a Floating Shelf
- Creating a Reclaimed Wood Headboard
- Upcycling Old Pallets into Shelves
About the Author
T. is a DIY enthusiast and writer who loves to share his knowledge and experience with others. He has been writing about DIY projects and home improvement for years and has a passion for creating unique and functional pieces for the home.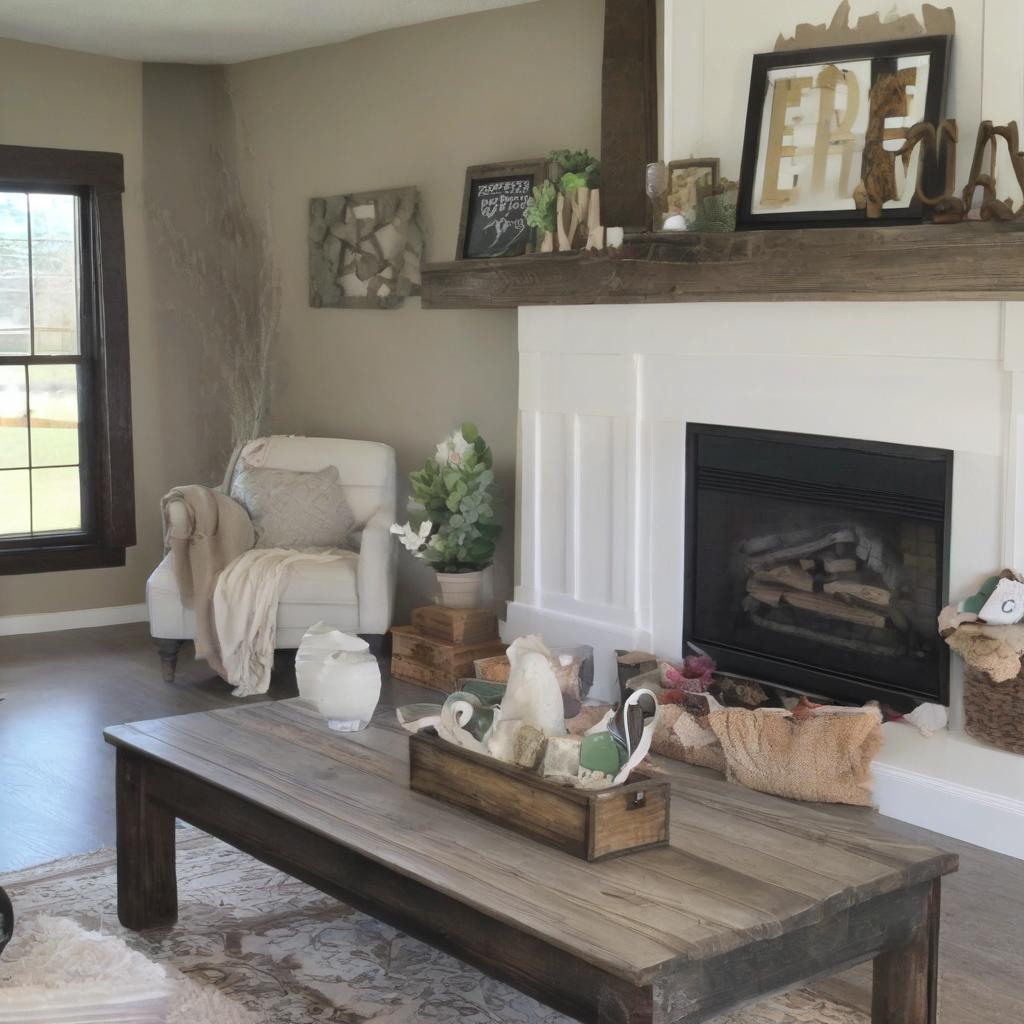
FAQs
What is the estimated cost of the materials needed for this project?
$50-$60
What type of saw is required to cut the wood to size?
Circular saw or Table Saw
How do you achieve an aged or vintage finish on the mantel?
By mixing wood dye with wood filler and applying it along the seams, and then distressing the wood with a hammer and sharp objects
What is the purpose of the faux brick corbels?
To add a decorative element to the mantel and create a rustic look
What type of drill bits are used to predrill screw holes in the brick?
Bosch Daredevil Multipurpose drill bits
How do you attach the corbels to the bottom board?
Using Spax screws
What is the final step in installing the mantel?
Attaching the mantel to the wall using screws
Can I use a different type of stain or paint to achieve a unique look?
Yes
Is it necessary to wear a respirator when working with wood filler?
Yes, to avoid inhaling fumes
What is the recommended grit of sandpaper for a smooth finish?
220