
Embracing a Life of Intention: How a Simple DIY Project Changed My Perspective
As I stood in my kitchen, pouring myself a cup of coffee, I couldn’t help but feel a sense of peace wash over me. It was a moment of clarity, a realization that I wanted to share with others. Our kitchen, with its simple open shelves and new sourdough starter, seemed to embody the life we’re striving to live – a life of intention, simplicity, and joy.
The Power of Slowing Down
In today’s fast-paced world, it’s easy to get caught up in the hustle and bustle. We’re constantly tempted to keep up with the latest trends, to accumulate more stuff, and to fill our lives with unnecessary clutter. But as I’ve been going through drawers and closets this winter, purging and decluttering, I’ve found a sense of peace in having less. Less stuff, more of what actually matters.
A Silent Reminder
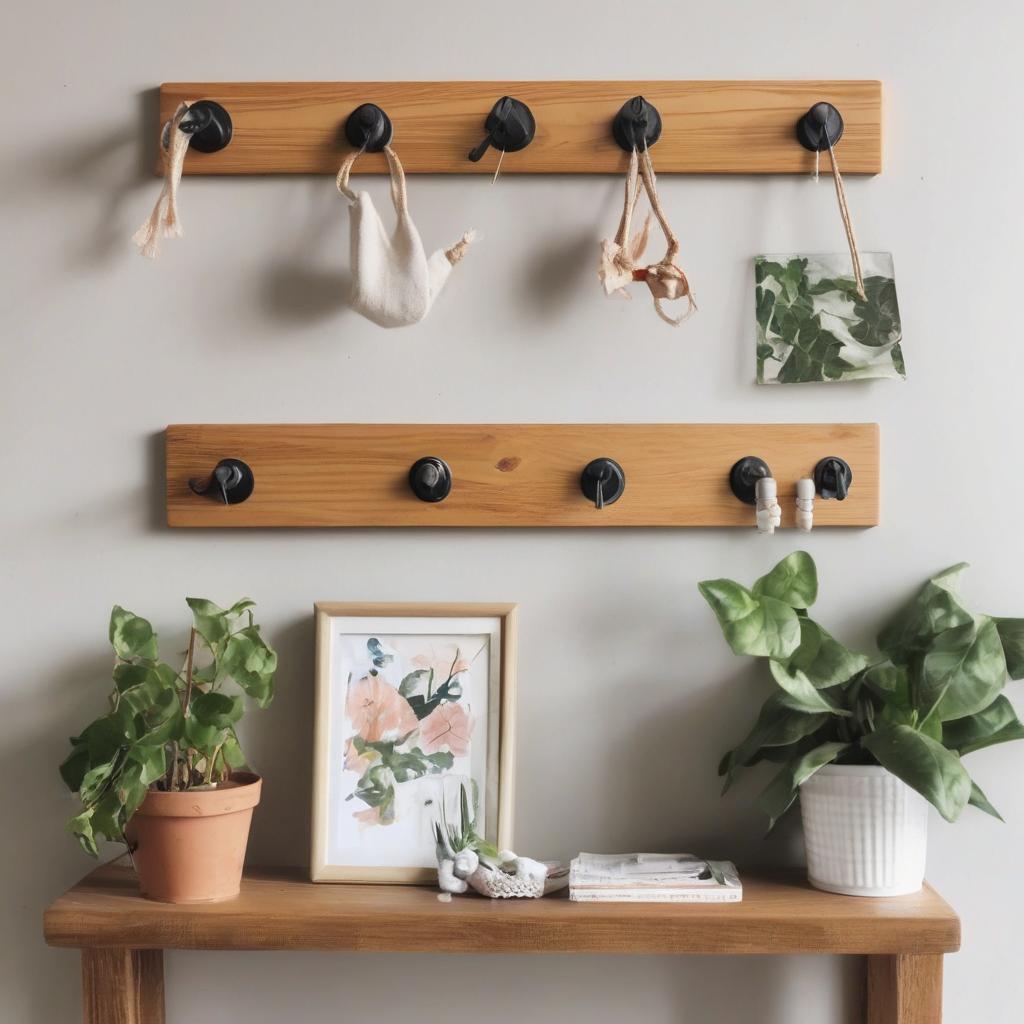
That’s where our new DIY wooden peg rail comes in. It’s a small thing, but it makes a big impact. When I see it under our open shelves, it reminds me of the life I want to live with my family. It’s a silent reminder to live on purpose, to cherish the moments, and to find joy in the simple things.
The DIY Wooden Peg Rail Project
If you’re interested in creating your own DIY wooden peg rail, I’ve outlined the steps below. It’s a relatively simple project that requires some basic tools and materials.
Supplies:
- 14 pine boards
- Shaker-style pegs
- Saw (miter saw or circular saw)
- Wood glue
- Putty or small paintbrush
- Drill
- Drill bit
- Countersink drill bit
- Drill guide attachment
Instructions:
- Step 1: Prime the Boards. I primed the boards before cutting them to size, as it’s easier to touch up one long board than multiple short ones.
- Step 2: Measure and Cut the Boards. Measure and cut the pine boards to the appropriate sizes.
- Step 3: Mark the Peg Holes. Measure and mark where you want the holes for the pegs. We spaced our pegs 5.5 inches apart, but you can adjust the spacing based on your needs.
- Step 4: Drill the Holes. Use a drill, drill bit, and drill guide attachment to drill holes at a 90-degree angle.
- Step 5: Glue the Pegs. Glue the pegs into the board with wood glue.
- Step 6: Paint and Finish. Paint the peg rack to match your open shelves, using a brush or sprayer.
- Step 7: Add Countersink Holes. Drill countersink holes in the back of the shelf for a polished look.
- Step 8: Attach the Peg Rail. Drill pilot holes and screw the peg rail to the shelf.
Spacing Shaker Pegs
When it comes to spacing shaker pegs on a DIY wooden peg rail, there’s no hard and fast rule. However, based on our research, we found that pegs are typically spaced anywhere from 5-12 inches apart. We chose to space ours 5.5 inches apart, but you can adjust based on your specific needs.
Attaching Wooden Pegs to Wood
To attach wooden pegs to wood, follow these steps:
- Drill holes in the wood that are big enough to put the peg in. Make sure the peg is snug, but not too tight.
- Add wood glue to the hole and peg, then let it set.
A Life of Intention
As I look at our new peg rail, I’m reminded that it’s the small things in life that can bring us the most joy. It’s not about the stuff we accumulate, but about the moments we cherish, the memories we create, and the life we live with intention.
Your Turn
What is it that reminds you to live the life you love? Is it a piece of landscape artwork, a family heirloom, or something else entirely? I’d love to hear from you – share your story and let’s inspire each other to live a life of intention.
Stay Connected
Don’t forget to follow along on social media for our day-to-day fun, and make sure to sign up for our newsletter to stay up-to-date on all the latest news and inspiration.
- Follow on Facebook
- Follow on Instagram
- Follow on Pinterest
Conclusion
In the end, it’s not about the DIY project or the decor style – it’s about living a life that truly matters. I hope this article has inspired you to slow down, live with intention, and find joy in the simple things. Until next time, stay blessed and keep living!
Frequently Asked Questions
What is the purpose of the DIY wooden peg rail?
The DIY wooden peg rail serves as a reminder to live a life of intention and simplicity.
What materials are needed for the DIY wooden peg rail project?
The required materials include 14 pine boards, Shaker-style pegs, saw, wood glue, putty or small paintbrush, drill, drill bit, countersink drill bit, and drill guide attachment.
How do you space the Shaker pegs on the peg rail?
The Shaker pegs can be spaced anywhere from 5-12 inches apart, depending on your specific needs.
How do you attach wooden pegs to wood?
Drill holes in the wood, add wood glue, and insert the peg, making sure it’s snug but not too tight.
What is the significance of living a life of intention?
Living a life of intention means cherishing moments, creating memories, and finding joy in simple things.