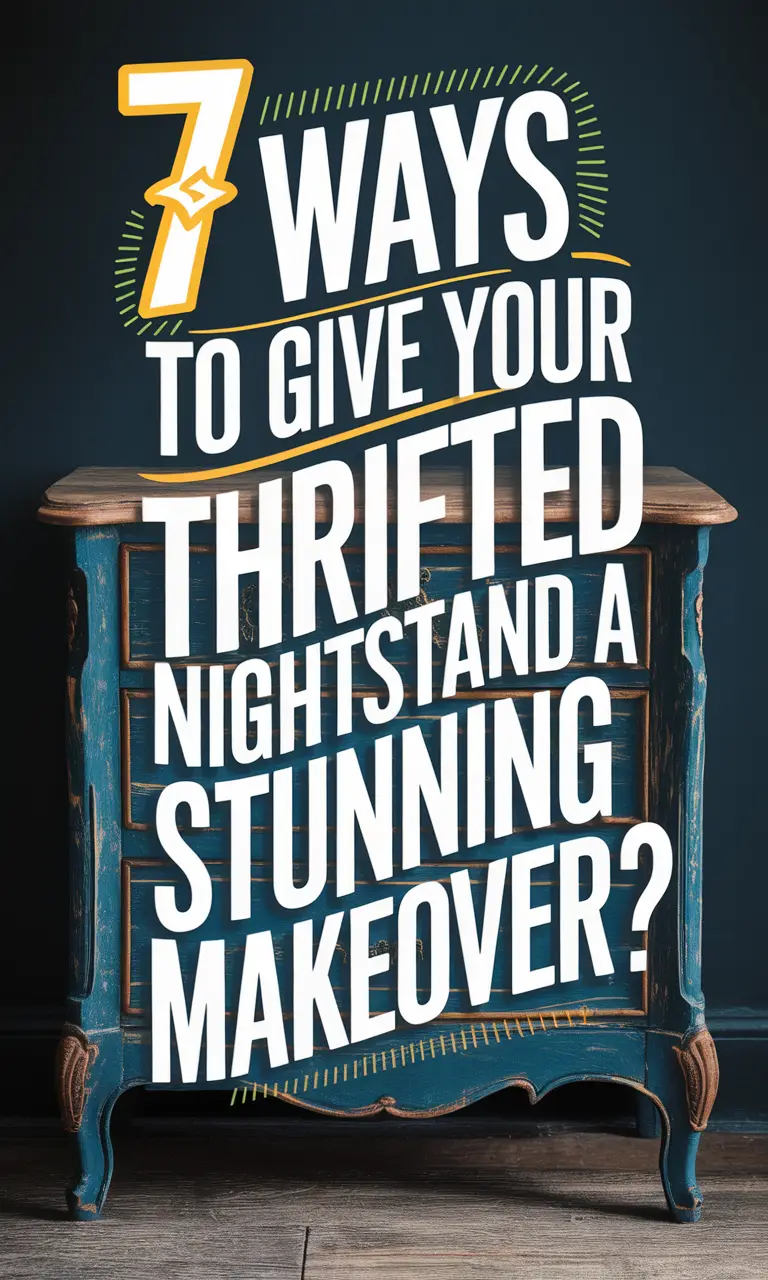
Transforming Thrifted Treasures: A Faux Bamboo Nightstand DIY
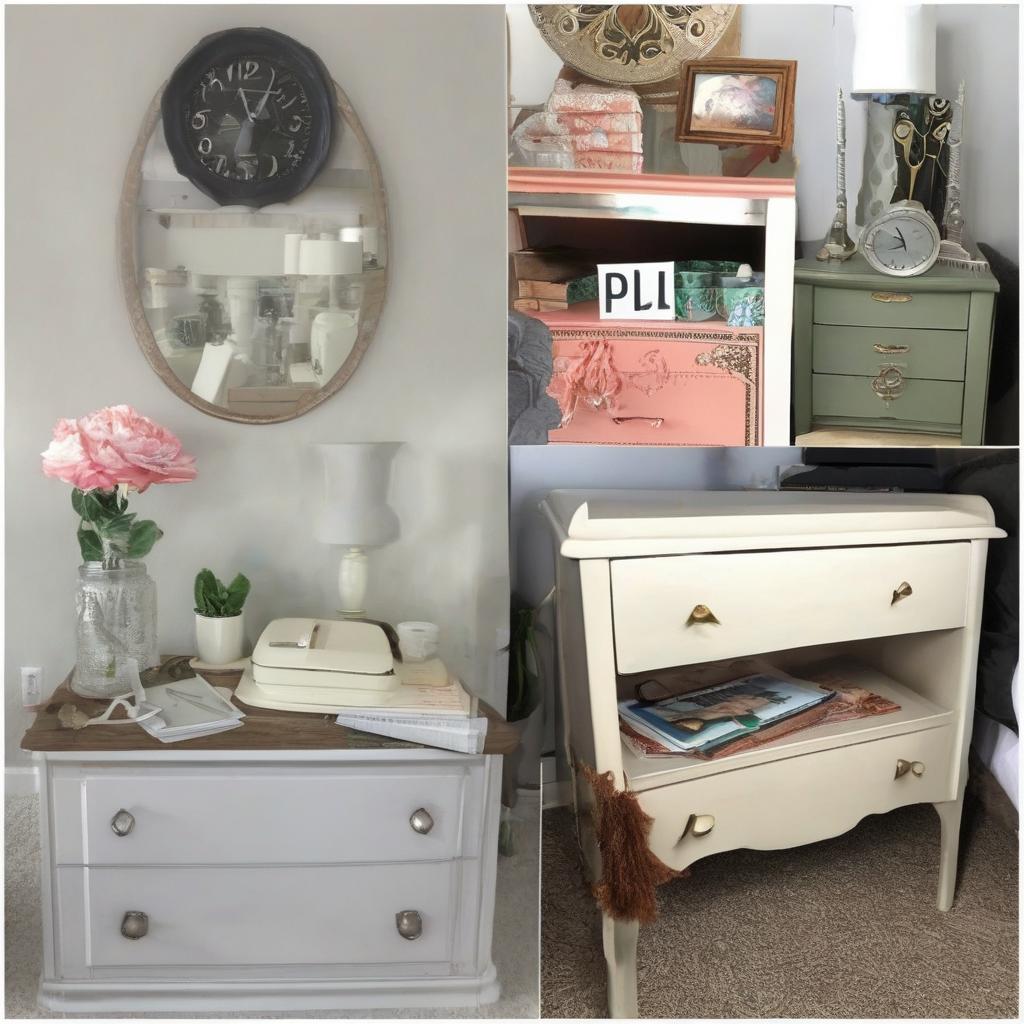
I’m excited to finally share the finished product of my faux bamboo nightstand DIY. Restoring thrifted furniture isn’t really all that difficult; it just takes a little elbow grease and the right products. If you follow me on Instagram, I shared the before image of these vintage beauties a few months ago. Sarah was kind enough to keep her eyes open for me while thrifting and picked up these nightstands for under $30 a piece. I am so happy with how they turned out.
The Process: From Thrift Store Finds to Beautiful Nightstands
To begin, I removed the hardware and sanded both nightstands with a power sander until they were nice and smooth. The power sander made quick work of the surface, allowing me to focus on the details. I used a piece of 120 grit sandpaper on the drawers because of the faux woven texture. Sanding by hand ensured that I didn’t miss any of the intricate details. I made sure to wipe down each piece with a wet cloth and vacuum to remove all the dust when finished.
Priming and Painting: Bringing Out the Best
Then, I primed the nightstands with two coats of white Valspar primer. I used a paint brush and Sherwin Williams multipurpose water-based acrylic primer for the drawers. The primer provided a smooth surface for painting and helped bring out the true color of the lacquer paint. Next, I applied three coats of Valspar lacquer paint, letting it dry and wiping clean between each coat. The multiple coats ensured a rich, even finish.
The Finishing Touches: Adding a Glossy Finish
Finally, I applied a spoonful of Minwax furniture polish with a cheesecloth to really make the lacquer shine. The polish brought out the depth of the color and added a beautiful sheen to the nightstands. I was thrilled with the result, and the nightstands now have a luxurious feel.
The Tricky Part: Restoring the Hardware
The hardware was the tricky part of this project. Originally, the pulls were pretty tarnished, so I tried to salvage them by using NevrDull magic wadding polish, some spray paint, and rub’n’buff. In the end, I was pretty unhappy with the color. Replacing the hardware wasn’t really an option since they were custom to the piece. I started doing some research and found a helpful article on Apartment Therapy that detailed a process for stripping old paint from hardware.
Stripping Old Paint: A Time-Consuming but Rewarding Process
Although the experiment worked well, I will say it took me about an hour and a half to remove three layers of paint from the hardware. The process was tedious, but the end result was worth it. I highly suggest using a thrift store pot rather than one of your nice ones – lesson learned. I topped them off with more wadding polish, and they were as good as new, thankfully.
The Result: Beautiful Nightstands that Fit the Space Perfectly
I love mixing old and new, and I enjoy making old pieces new again. I couldn’t be happier with our new nightstands – they fit the space so much better than my previous ones, and they were a fraction of the cost of similar items I was finding online. The end result is a beautiful pair of nightstands that add a touch of vintage charm to the room.
Tips and Tricks for Your Own Furniture DIY
If you’re considering a furniture DIY of your own, here are a few tips to keep in mind:
- Start with a solid plan and research the process before beginning.
- Choose the right products for the job, including primer, paint, and polish.
- Be patient and take your time – restoring furniture can be a time-consuming process.
- Don’t be afraid to get creative and try new things.
- Consider repurposing or reusing hardware to save money and add character.
- What type of furniture do you want to restore or repurpose?
- What is your budget for the project?
- What skills or techniques do you need to learn to complete the project?
- What tools and materials will you need to get started?
Getting Ready to Start Your Own Project?
Is anyone out there getting ready to try a furniture DIY of their own? I would love to hear about your upcoming projects. Whether you’re a seasoned DIY pro or just starting out, there’s always room to learn and share new ideas. Some things to consider when starting your project include:
By considering these factors and being willing to put in the time and effort, you can create beautiful, unique pieces that add character to your home. I’m excited to hear about your projects and share in the joy of creating something new and beautiful.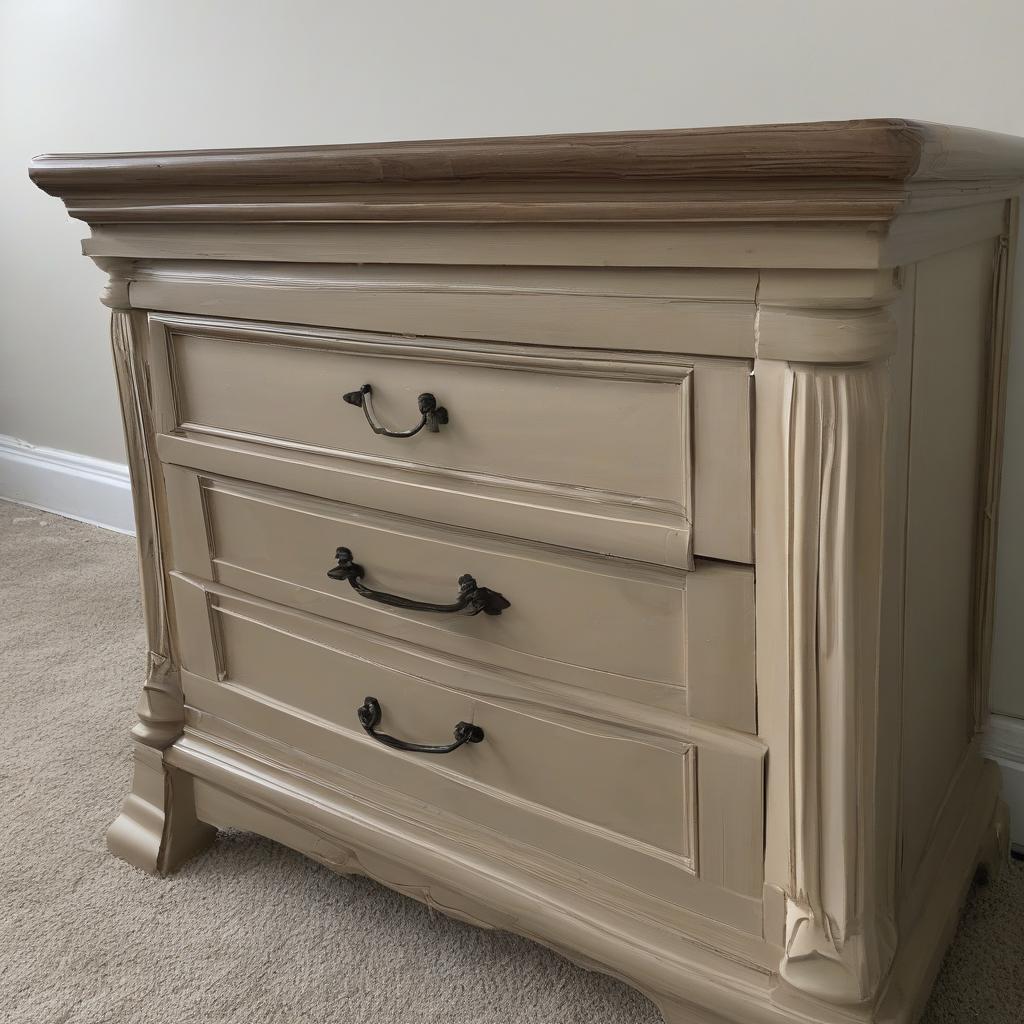
Frequently Asked Questions
What was the initial cost of the nightstands?
Under $30 a piece.
What type of sander was used to sand the nightstands?
A power sander.
Why was 120 grit sandpaper used on the drawers?
Because of the faux woven texture.
How many coats of primer were applied to the nightstands?
Two coats.
What type of paint was used on the nightstands?
Valspar lacquer paint.
How many coats of lacquer paint were applied?
Three coats.
What was used to make the lacquer shine?
Minwax furniture polish.
What was used to restore the hardware?
NevrDull magic wadding polish, spray paint, and rub’n’buff.
Where did you find the process for stripping old paint from hardware?
Apartment Therapy.
What is a tip for restoring furniture?
Be patient and take your time.
What should be considered when starting a furniture DIY project?
Type of furniture, budget, skills, and tools needed.