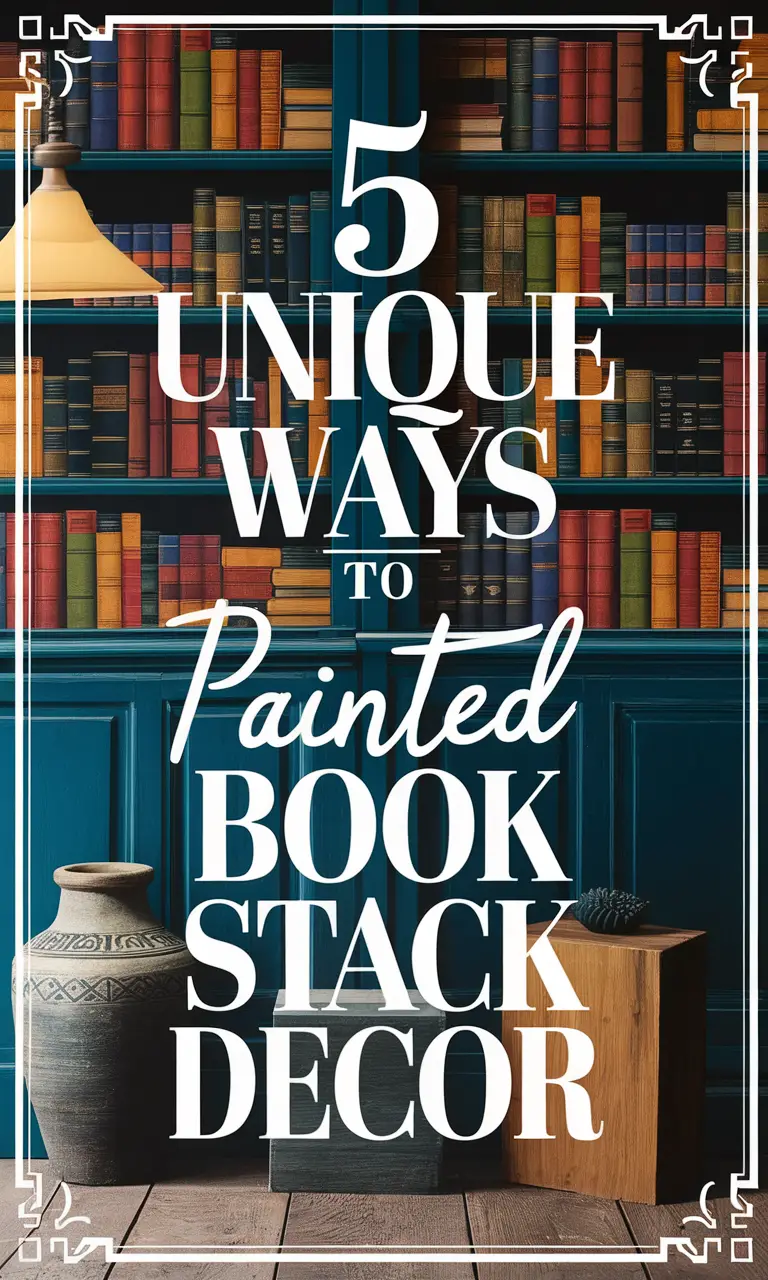
Transforming Vintage Books into Beautiful Home Decor: A Step-by-Step Guide to DIY Painted Book Stacks
Are you tired of having old, vintage books lying around your house with no idea what to do with them? Do you want to add a personal touch to your home decor? Look no further! In this article, we will show you how to transform old hardcover books into beautiful, painted book stacks that can be used as decorative pieces in your home.
The Perfect Solution for Old Books
Most of us have a bunch of old, vintage books lying around that we don’t know what to do with. I have stacks of books that fill my closet, and I’m always happy to use them up for home decor projects. Painted books are so fun to make and add a beautiful touch to your home decor. They work well tucked into a bookshelf or on top of a table.
A New Twist on a Popular Tutorial
You might be familiar with my DIY Painted Book Stacks Tutorial that I did a while ago. It is the most popular craft project on my blog! But this tutorial is different since I’m not using stamps, and I’m tearing off the book covers. And I think the final product is just a bit more modern and lends itself very nicely to personalization with paint color, ribbon style, and trims.
A Great DIY Project for Beginners
DIY decorative book stacks are so easy to make, perfect for beginners, and they make great gifts. My friends who have received a set are quite happy to display them in their homes! With this set, we’re making in the tutorial; I think that picking a trim piece like the key shown on mine that you know your friend will love will really make this perfect for gifting! Adding favorite flowers to the top makes the painted books into a custom gift also.
Gathering Supplies
To get started, you’ll need the following supplies:
- Old Hardcover Books (see note below)
- Chalk Paint in your choice of color (I used Kilz Blue Juniper Chalk Paint)
- Foam Brush
- Ribbon and/or Twine
- Faux Flowers
- Trim of your choice (the key that I used is in this set)
- Glue Gun and Glue Sticks
- XActo Knife
Finding Affordable Books
If you don’t happen to have old books lying around your house that you can use, simply visit your local library and buy some. They generally have books for sale that they are willing to sell cheap. At my library, they practically beg me to take more than I need just because they have so many. I can buy 10 for $1. I have tried to pay more, but they don’t let me. Just a little bonus here in my small Colorado town!
Preparing Your Workspace
This project tends to be a bit messy, or maybe it is ME that is messy! So I like to cover my workspace with Kraft Paper. Tape the paper to the table. And since I am painting, I wear old clothes that I don’t care about. I don’t like to have an attitude about a finished project due to a beloved shirt being ruined in the process.
A Safety Tip
To keep my fingers from getting burned with the hot glue, I always keep a glass of ice water close by. Hot glue is hot for a long time, so dipping fingers in the cold water shortens burn time. I learned this lesson the hard way, friends! So listen to me and get yourself a glass of ice water! Fingers with blisters on them don’t make for good crafting fingers.
Step-by-Step Instructions
Step One: Remove the Hard Cover
Carefully remove the hard cover of your books with an XActo Knife. Take care not to cut your fingers. You need to be in control of your knife at all times. It is easy to end up dragging it too hard towards yourself and getting cut. Go slow, and you will be just fine.
Step Two: Remove Excess Cardboard
Remove the excess cardboard from the spine of the book. It is OK to have some texture after you have removed it. I think it adds to the character of the finished craft. If you accidentally remove the first blank page of the book like I did, simply use your glue gun to keep it in place. I like a blank page on the top of the stack. OR, if the book is special to the person receiving it, leave the title page as the top page.
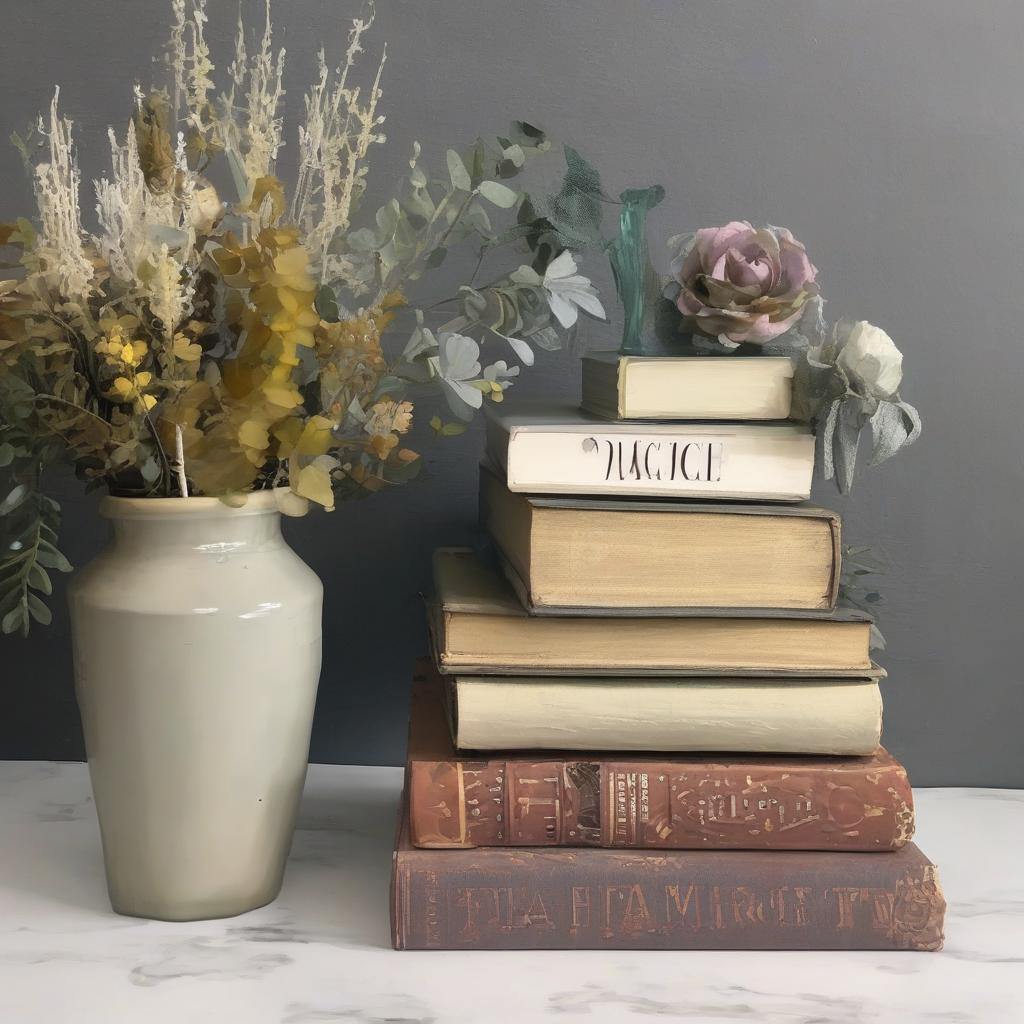
Step Three: Paint the Spines
Paint the spines of your books with light coats of chalk paint. I used 3 coats. Be careful not to get too much paint on the pages because it looks messy. Using three different colors of paint would be fun. You could use a main color, and tone each additional color down with white to give the book stack an ombre look.
Step Four: Add Ribbon or Twine
Apply your ribbon or twine with your glue gun or tie it. Either way works well. You could additionally tie the ribbon into a nice bow.
Step Five: Add Trim
I used a small piece of string to add my key and then I glued it in place on the book to keep it from moving.
Step Six: Add Faux Flowers
Add faux flowers with your glue gun or tie them on. I did both to keep them secure.
That’s It!
Wasn’t that simple? Now you have adorable painted books for home decor. And you get to tell everyone that you made it!
A Great Idea for a Girls’ Craft Night
This one would make a perfect Girls’ Craft Night project! Gather your girlfriends and supply all of the materials based on how many people are coming. You can divide the expense among everyone, and this becomes a super cheap girls’ night. Cover work surfaces with Kraft Paper and lay it all out before everyone arrives. This makes things really simple! Walk your friends through my tutorial with either the written instructions or the video played for everyone to see. It is your choice. I enjoy seeing how each person personalizes their project and how cute they all turn out.
More Book Stack Tutorials
Check out my other book stack tutorials:
- DIY Painted Book Stacks
- Front Door Wreath With Rolled Paper Flowers
- Wrapped Book Stacks COMING SOON!
Share Your Creations!
If you like this post, please be sure to PIN IT or share it on Facebook! I’d love to see your creations and hear about your experiences with this tutorial.
Conclusion
Transforming old books into beautiful, painted book stacks is a fun and easy DIY project that can add a personal touch to your home decor. With these simple steps, you can create a unique and beautiful decorative piece that makes a great gift or addition to your home. So gather your supplies, follow the steps, and get creative!
Additional Tips and Variations
You can use different colors, ribbons, and trims to personalize your book stacks. You can also add other embellishments like buttons, beads, or other decorative items. The possibilities are endless!
Make it a Gift
Painted book stacks make great gifts for friends and family. You can customize them to fit the recipient’s style and interests. Add a personal touch by using their favorite colors or flowers.
Get Creative with Different Techniques
You can experiment with different techniques like using different brushstrokes, layering paint, or using stencils. You can also try using different types of paint or mediums to achieve unique effects.
Display Your Creations
Once you’ve created your painted book stacks, you can display them on a bookshelf, mantel, or side table. You can also give them as gifts or use them as decorations for special occasions.
By following these simple steps and tips, you can create beautiful, painted book stacks that add a personal touch to your home decor. So get creative, have fun, and happy crafting!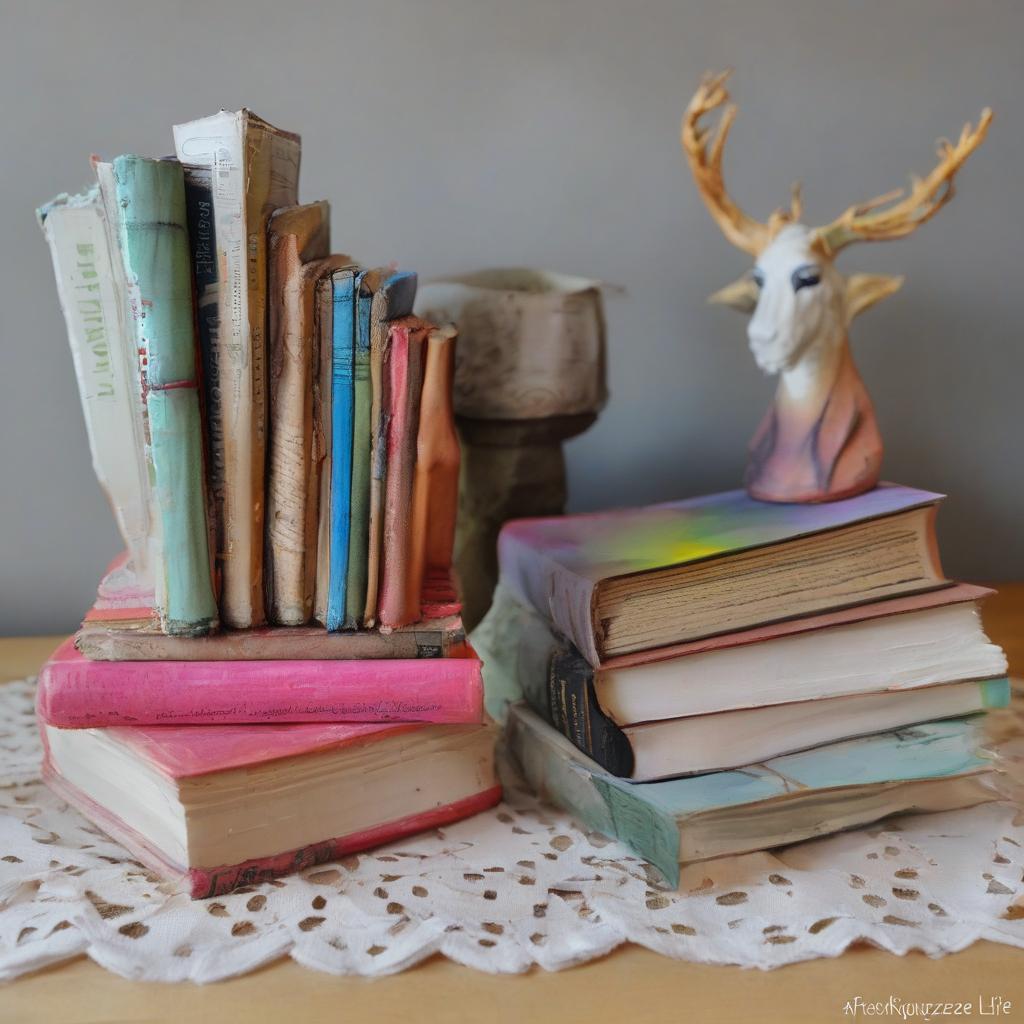
Frequently Asked Questions
What is the main purpose of this tutorial?
To transform old hardcover books into beautiful, painted book stacks that can be used as decorative pieces in your home.
What type of paint is used in this project?
Chalk Paint, specifically Kilz Blue Juniper Chalk Paint is used in the example.
Can I use different colors for the book spines?
Yes, you can use different colors, and it’s also suggested to use a main color and tone down additional colors with white to give an ombre look.
Is this project suitable for beginners?
Yes, DIY decorative book stacks are easy to make and perfect for beginners.
What are some additional embellishments I can use?
You can use ribbons, twine, faux flowers, trim, buttons, beads, or other decorative items to personalize your book stacks.
Can I give the painted book stacks as gifts?
Yes, painted book stacks make great gifts for friends and family, and you can customize them to fit the recipient’s style and interests.
How can I display my painted book stacks?
You can display them on a bookshelf, mantel, or side table, or use them as decorations for special occasions.
Is it necessary to remove the book covers?
Yes, removing the hard cover is the first step in this tutorial, and it’s also suggested to remove excess cardboard from the spine.