

15 Minute Ikea Dresser Hack: Update Your Furniture with Peel and Stick Wallpaper
Are you tired of looking at your plain old Ikea dresser? Do you want to give it a new look without breaking the bank or spending hours on a complicated DIY project? Look no further! With just a few simple steps and some peel and stick wallpaper or contact paper, you can update your dresser in under 15 minutes.
The Inspiration Behind the Hack
A while ago, I decided to update my daughter’s Ikea dresser using peel and stick wallpaper. I was thrilled with the results and finally made a tutorial for this site. The best part about this hack is that it’s non-permanent, so if your room decor changes in a few years, you can simply peel off the wallpaper and go back to the original dresser look or change it to a new look in a snap.
The Supplies You’ll Need
This project is incredibly simple and requires minimal supplies. Here’s what you’ll need:
- Peel and stick wallpaper or contact paper
- Smoothing tool (or an old credit card)
- Utility knife
- Scissors for cutting the wallpaper to size
The Benefits of Using Peel and Stick Wallpaper
Peel and stick wallpaper is a great option for this project because it’s easy to apply and remove. You can find a wide variety of designs and patterns online, from geometric shapes to nature-inspired motifs. For this project, I used the Wildlife Wallpaper from Wayfair.
Alternative Option: Contact Paper
If you’re on a tighter budget, you can use contact paper as a more budget-friendly alternative to peel and stick wallpaper. Contact paper is also easy to find and comes in a range of designs.
The Tutorial
Here’s a step-by-step guide to updating your Ikea dresser with peel and stick wallpaper:
- Start by cleaning your dresser to ensure the surface is smooth and dust-free.
- Measure your dresser to determine how much wallpaper you’ll need.
- Cut the wallpaper to size using scissors or a utility knife.
- Apply the wallpaper to the dresser, starting from the center and working your way outwards.
- Use a smoothing tool or an old credit card to remove any air bubbles.
- Trim any excess wallpaper around the edges.
The Results
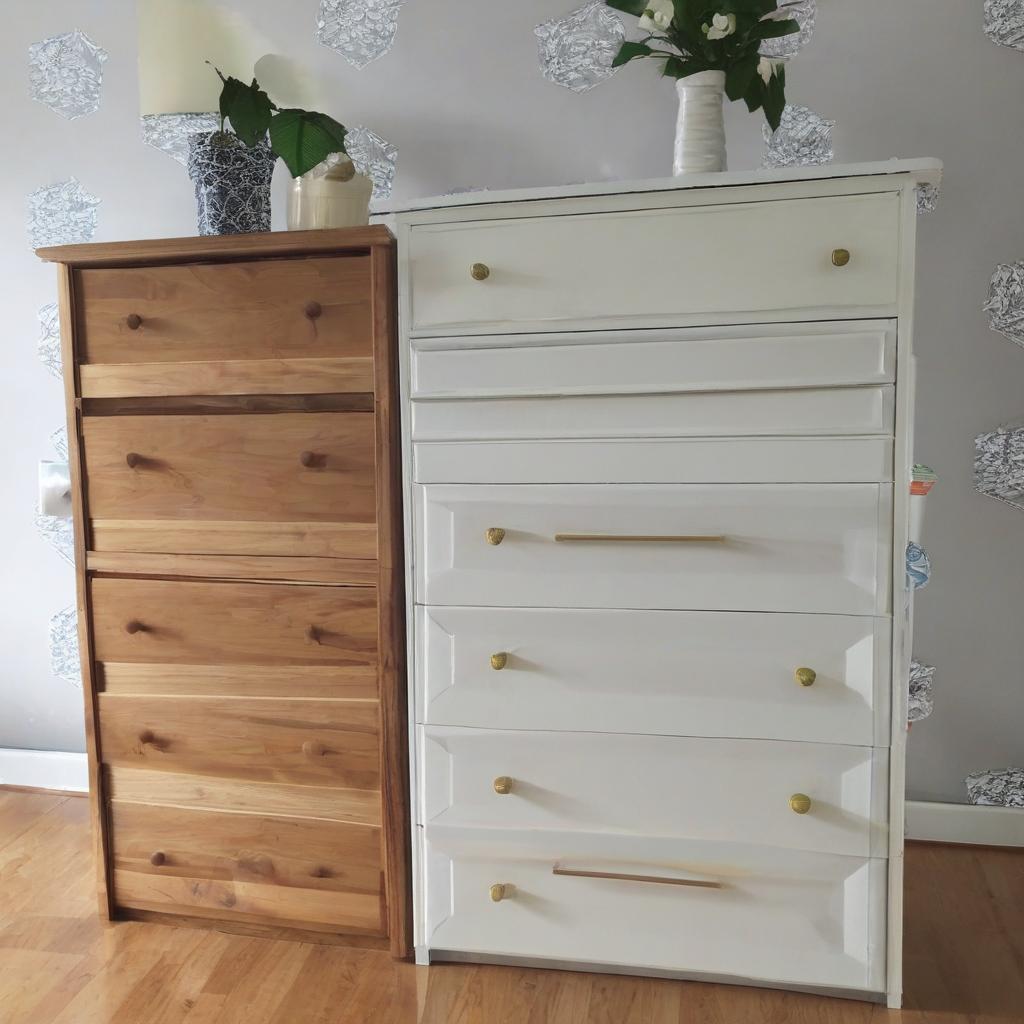
My girls were thrilled with the results, and it was such an easy project! The peel and stick wallpaper completely transformed the look of the dresser, giving it a fresh and modern appearance.
Before and After
Before: A plain old Ikea dresser
After: A stylish and updated dresser with peel and stick wallpaper
Tips and Variations
Here are a few tips and variations to consider:
About the Author
Cassity Kmetzsch is the founder of Remodelaholic, a website dedicated to sharing DIY projects and home renovation ideas. With a degree in Interior Design from Utah State University, Cassity has a passion for knocking out walls and building everything back up again to add function and beauty to her home. She and her husband Justin have remodeled six homes and are working on a seventh. Cassity is a mother of four amazing girls and loves making a house a home.
Related Posts:
- Installing Hexagon Tile for Beginners
- 25 Beautiful Examples of Colored Trim
- 12 Fall Design Pieces You Can Get at Walmart
- Shelving Wonder: Easy DIY Shelves for Your Home
Subscribe to Our Channel
If you enjoyed this article, be sure to subscribe to our YouTube channel for new videos every Saturday and occasionally during the week. Don’t forget to hit the little bell icon next to the subscribe button to receive notifications when we publish new videos!
Watch the Full Tutorial
You can watch the full tutorial on our YouTube channel. Simply click on the link below and follow along with the video.
We hope you enjoyed this article and found it helpful. Happy DIY-ing!
Supplies links:
Please see our disclosure for more information.
Frequently Asked Questions
What is the main idea of this DIY project?
Updating an Ikea dresser using peel and stick wallpaper or contact paper.
How long does this project take to complete?
Under 15 minutes.
What are the necessary supplies for this project?
Peel and stick wallpaper or contact paper, smoothing tool, utility knife, and scissors.
Is the peel and stick wallpaper permanent?
No, it is non-permanent and can be peeled off.
Can I use contact paper instead of peel and stick wallpaper?
Yes, contact paper is a budget-friendly alternative.
What is the benefit of using a smoothing tool?
To remove air bubbles from the wallpaper.
Can I customize the design of the wallpaper?
Yes, you can choose from various designs and patterns.
Is the project suitable for beginners?
Yes, it is a simple and easy DIY project.