
Creating a Stunning Accent Wall in Your Living Room: A Step-by-Step DIY Guide to a Wood Slat Wall
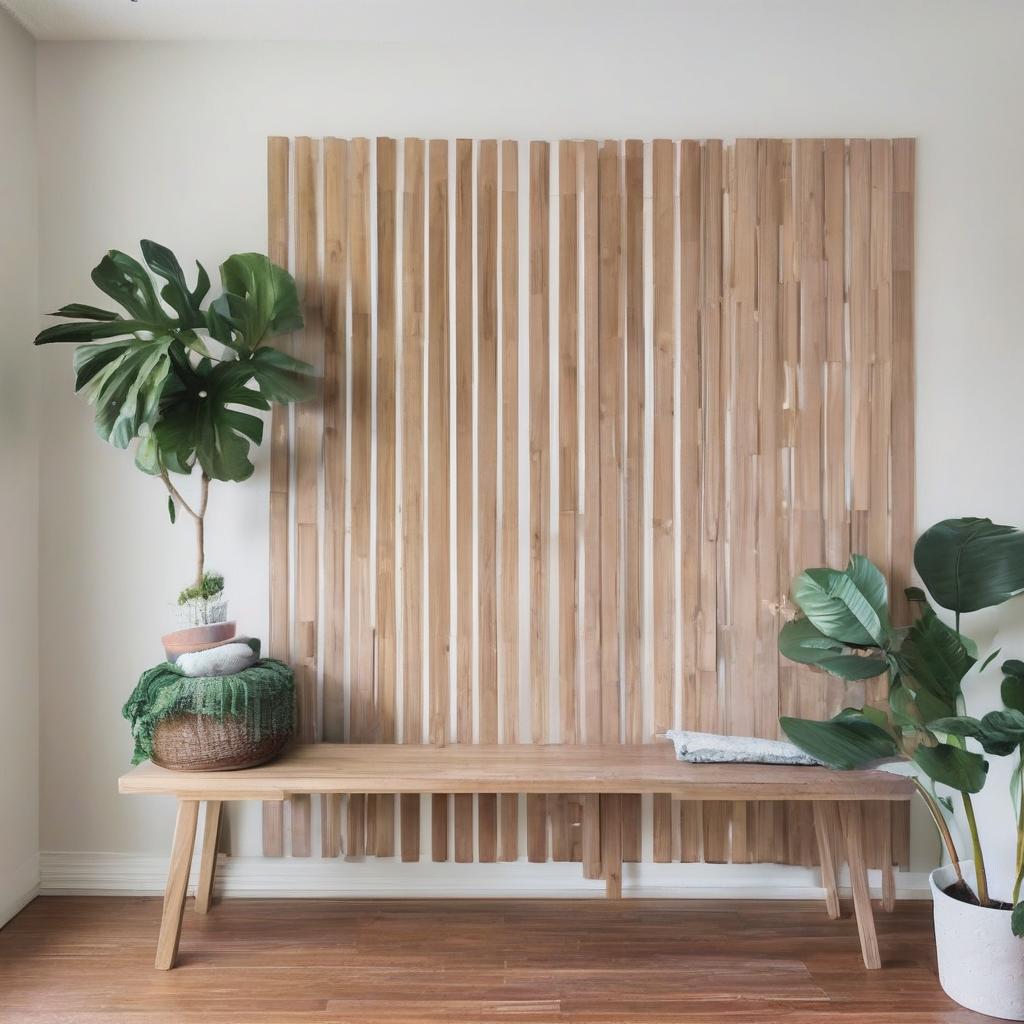
Are you looking to add a touch of modern elegance to your living room? A wood slat wall is a great way to create a unique and visually appealing accent wall that can transform the entire space. In this article, we’ll take you through a step-by-step DIY guide on how to create a beautiful wood slat wall.
Choosing the Right Wood for Your Slat Wall
When it comes to choosing the right wood for your slat wall, there are several options to consider. The easiest option is to buy 1×2 pine wood from a lumber store. This size is perfect for a slat wall, and it can be stained to any wood tone. Pine wood is also a great budget-friendly option, costing around $8 per slat.
Another option is to use hardwood like poplar or oak. Poplar is a great choice because it doesn’t have a yellow undertone like pine, and it doesn’t require any sanding or staining. However, it is more expensive, costing around $10.50 per slat.
The Cheapest Way to Make a Slat Wall
If you’re on a tight budget, you can consider purchasing a large 4×8 piece of plywood and using a table saw to rip it down to 1×2 dimensions. However, this option requires a table saw, and it can be time-consuming to cut each individual strip of wood. Additionally, plywood doesn’t absorb stain as nicely as pine or poplar, and it may not have a smooth finish.
The Best Nail Gun for a Slat Wall
A nail gun is an essential tool for creating a slat wall. You’ll need a good quality nail gun that can drive nails into the wood and the wall securely. A cordless brad nailer is a great option because it’s easy to use, lightweight, and doesn’t require a compressor.
Materials Needed for Your Slat Wall
Before you start your project, make sure you have the following materials:
- 1×2 poplar or pine slats (24 for a 20×10 wall)
- Wood conditioner
- Wood stain (optional)
- Paint brushes
- Paint (Sherwin-Williams Cyberspace SW7076)
- Painters tape
- Drop cloth
- Adjustable roller frame
- Roller tray
- Paint extension roller pole
- Regular paint rollers (9)
Power Tools Needed
You’ll also need the following power tools:
- Mitre saw or have the store cut the wood for you
- Level
- Jigsaw
- Brad nailer with 1.5 nails
- Sander with 220 grit sandpaper
Step-by-Step Instructions
Now that you have all the materials and power tools needed, let’s get started with the step-by-step instructions.
Step 1: Cut the Pieces
The first step is to cut the wood slats to the right length. Measure the height of your wall and cut the slats to size using a mitre saw or have the store cut them for you. Make sure to keep the wood scraps for later use.
Step 2: Prep the Wood
If you’re using pine wood, you’ll need to sand the slats with 220 grit sandpaper. If you’re using poplar, you can skip this step. You can also stain the slats if you want to add a specific color to your slat wall.
Step 3: Remove Your Baseboards
If you want the slats to go from floor to ceiling, you’ll need to remove the baseboards. Use a multitool to cut off the baseboard, and then patch the drywall with drywall compound.
Step 4: Work Out the Spacing of Your Slats
Use painters tape to visualize the spacing of your slats. You can adjust the spacing to your liking, but make sure it’s even. For this project, the spacing turned out to be exactly 1 inch, which is the depth of the shorter width of the wood slats.
Step 5: Paint Your Wall a Dark Color
Paint the wall a dark color to accentuate the natural hue of the poplar slats. Use Sherwin-Williams Cyberspace SW7076 for a deep black color with blue undertones.
Step 6: How to Attach Slat to the Wall
It’s time to put the slats up! Use a spacer to ensure even spacing, and a brad nailer to secure the slats to the wall. Make sure to use a level to ensure the slats are straight.
Working with the Spacer
Place the spacer on the wall, right up against the first slat, and put your next slat next to the spacer. Push against the new slat to make sure it’s a tight fit for the spacer, and then nail it in place.
Working Around Outlets
If you’re working on a wall with outlets, you’ll need to figure out how to work around them. For the first outlet, we were lucky that it lined up with the slat piece, so we could simply cut the slat to have one piece above and one below.
For the second outlet, we had to create a template on paper and transfer it to scrap wood. We then used a jigsaw to cut out the shape.
Tips and Tricks
* Use a cordless brad nailer for easy use and safety.
* Make sure to use a level to ensure the slats are straight.
* Use a spacer to ensure even spacing.
* Don’t be afraid to experiment with different types of wood and stains.
Conclusion
Creating a wood slat wall is a fun and easy DIY project that can add a touch of modern elegance to your living room. With these step-by-step instructions, you can create a beautiful accent wall that you’ll love for years to come. Remember to take your time, and don’t be afraid to experiment with different types of wood and stains. Happy building!
Additional Tips and Variations
* Consider using different types of wood, such as oak or maple, for a unique look.
* Add a LED light strip behind the slats for a modern ambiance.
* Use a different stain or paint color to match your living room decor.
* Create a geometric pattern with the slats for a unique design.
Share Your Project
If you decide to build this project, be sure to share it with me on Instagram! I’d love to see your creations and provide feedback.
Related Projects
* Living room wainscotting tutorial
* Elevated board and batten hallway
* Geometric accent wall (part 2)
Frequently Asked Questions
What type of wood is best for a slat wall?
Pine or poplar wood are great options, with pine being a budget-friendly choice and poplar being a good option if you don’t want to sand or stain.
Do I need a table saw to make a slat wall?
No, you can buy pre-cut 1×2 wood slats from a lumber store, or have the store cut the wood for you.
What is the best nail gun for a slat wall?
A cordless brad nailer is a great option as it’s easy to use and doesn’t require a compressor.
How do I space the slats evenly?
Use painters tape to visualize the spacing, and a spacer to ensure even spacing between the slats.
Can I use plywood for a slat wall?
Yes, but it’s not the best option as it doesn’t absorb stain well and may not have a smooth finish.
What paint color is recommended for the wall behind the slats?
Sherwin-Williams Cyberspace SW7076 is a great option for a deep black color with blue undertones.
Can I use different types of wood for the slats?
Yes, you can experiment with different types of wood, such as oak or maple, for a unique look.
How do I work around outlets when installing slats?
Create a template on paper, transfer it to scrap wood, and use a jigsaw to cut out the shape to fit around the outlet.