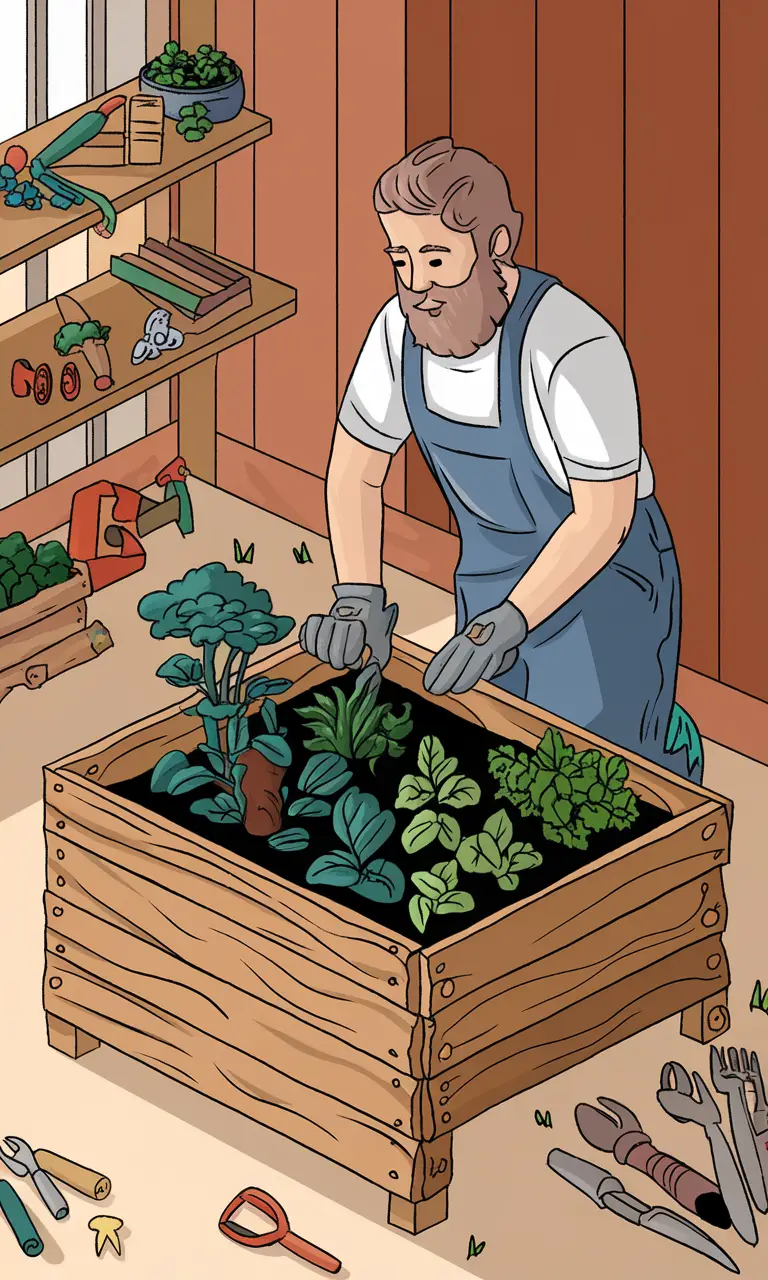
Creating Temporary Garden Beds from Scrap Timber: A Low-Cost and Low-Impact Solution
As we continue to explore ways to produce our own food at home, we often face challenges, especially when living in rental properties. Investing in permanent garden beds may not be feasible, but that doesn’t mean we can’t grow our own vegetables. In this article, we’ll share how we created quick and easy garden beds from scrap timber using everyday tools. These temporary beds should last a few years and provide a great way to keep the soil in and the grass out of our annual vegetable patch.
Why Temporary Garden Beds?
We decided to make temporary garden beds because we’re living in a rental property. This means that we can’t make any permanent changes to the land. Our goal was to create a low-cost and low-impact solution that would allow us to grow our own vegetables without damaging the property. These temporary beds are perfect for our needs, and we can easily remove them when we move out.
What You Will Need
To create your own temporary garden beds, you’ll need the following materials:
- A plan for your veggie patch
- Scrap timber
- Fat garden stakes (easily found at a garden supply shop)
- A circular saw
- A drill (a hammer drill is recommended)
- Countersunk screws
- Clamps
Step-by-Step Guide to Creating Your Temporary Garden Beds
Creating your temporary garden beds is a straightforward process that requires some basic tools and materials. Here’s a step-by-step guide to help you get started:
- Decide on the size of your beds, which may be defined by the length of timber you have available. We went with 1m x 2m beds.
- Measure, mark, and cut your timber to size.
- Place a chunky garden stake under each end of the timber of your beds’ short sides, drill it out, and sink your screws. We found making all the end bits worked well, because then all the stakes are attached.
- Attach the sides in the same way. Clamps will help here.
- Flip your bed over, and you’re ready for the next stage – getting the soil in your bed ready.
Preparing the Soil and Installing the Beds
Now that the wooden bed surrounds are made, it’s time to prepare the soil and install the beds. Here’s what we did:
- Scalp the lawn to the bed sizes.
- Double dig the beds.
- Drop the wooden surrounds in. The stakes should hold the beds firmly in place.
- Sink the bottom lip of the wood beneath the grass level to help prevent grass invasion.
Alternative Methods for Creating Garden Beds
While our temporary garden beds are a great solution for our needs, there are many other ways to create garden beds using different methods. Some popular alternatives include:
- No-dig methods
- Gabions
- Wicking beds
- Market garden-style beds
The best approach will depend on your context, including your bioregion, resources, land, and what food you want to produce.
Our Experience with Garden Beds
We’ve been working on our home food supply, and these temporary garden beds are the next step. We recently renewed an existing garden bed and double dug it six weeks ago. It’s now supplying us with a daily ration of mizuna, lettuce, and rocket, with the beets, carrots, fennel, and brassicas coming along nicely.
The Benefits of Vegetable Gardening
There’s nothing quite like harvesting fresh vegetables from your own garden. It feels great to have a little bit of our food being harvested right at our back door. We’re excited to get these new beds planted with spring and summer crops. Vegetable gardening is a fun and rewarding experience, and we can’t wait to see what the future holds.
We Want to Hear from You!
Have you made or are you planning to make garden beds? We’d love to hear what worked for you. Share your experiences and tips with us, and let’s learn from each other.
Related Articles
If you’re interested in learning more about gardening and permaculture, check out our related articles:
- Companion Planting with Permaculture: Cultivating Relationship with Your Garden
- Our Free Beginner’s Guide to Veggie Gardening
- How to Compost Dog Poop and Other Pet Waste Too
- Delicious Dahlias: Yep, Dahlias Are Edible!
- Garden Dreaming: The First Year of our New Garden
- DIY Mushroom Cardboard Spawn: An Easy Mushroom Cloning Technique
By following these steps and using scrap timber, you can create your own temporary garden beds and start growing your own vegetables at home. Happy gardening!
Frequently Asked Questions
What is the purpose of creating temporary garden beds?
To provide a low-cost and low-impact solution for growing vegetables in rental properties without making permanent changes to the land.
What materials are needed to create temporary garden beds?
Scrap timber, fat garden stakes, circular saw, drill, countersunk screws, and clamps.
How do I prepare the soil for the garden beds?
Scalp the lawn to the bed sizes, double dig the beds, and then drop the wooden surrounds in.
What are the benefits of using temporary garden beds?
They are easy to remove when moving out, and they help keep the soil in and the grass out of the annual vegetable patch.
Are there alternative methods for creating garden beds?
Yes, some popular alternatives include no-dig methods, gabions, wicking beds, and market garden-style beds.
What are the advantages of vegetable gardening?
It provides fresh produce right at your doorstep, and it’s a fun and rewarding experience.
